Description
With an F23 error in a washing machine, the lights for pre-wash, intensive rinsing, rinse hold and spinning can be on. The service light is also on and Start/Pause is flashing.
or
Only error code F23 appears in the display.
This can have four different causes:
- Water level control
- Drain pump
- Heating element or earth-leak switch
- Module or circuit board
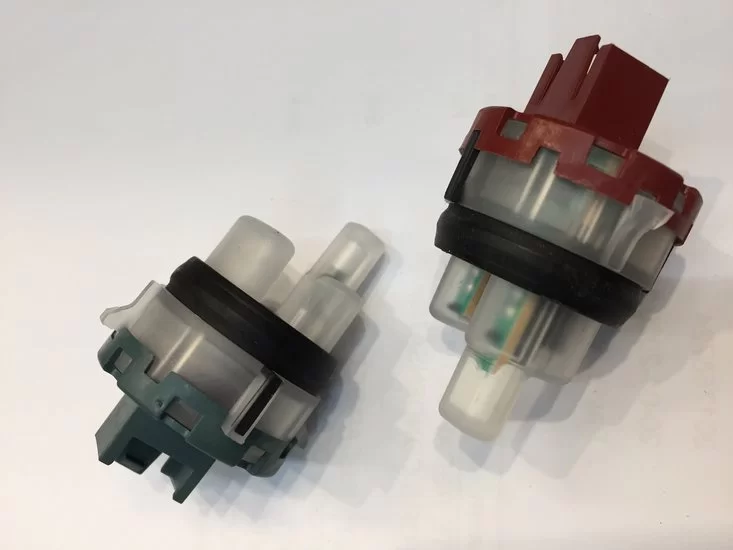
1. Problem with the water level control (RT); Remove the top panel. In the upper right you can see the water level control: a round disk with a few wires and a small rubber hose; see the photo below. Disconnect the hose, blow it through well from the side of the hose (not from the water level control side), and put it back. If the hose is seated too deep, you can extend it if necessary with a piece cut from a soda bottle. First reset the machine and then try again. If the problem persists, unplug the machine from the outlet, then plug it back in the other way around. Follow the hose from the water level control downwards. Does it go directly to the tub or to a rubber part, such as a bellows or drain hose? Clean that rubber part if it is dirty or clogged.
If the problem persists, then perform the check below.
Disconnect the water level control from the machine.
Remove the hose.
Leave the wiring connected.
Start the machine again on a normal wash program.
Gently blow into the water level control once there is enough water in the machine.
The water supply should then stop and the machine should continue the program. If this does not happen, the pressure switch is probably defective. For this, also see www.euromaxx.nu/products/whirlpool-bauknecht-niveauregelaar-pressostaat/
2. Drain pump; Check the drain pump by using only the drain/spin program. The pump can optionally be tested at 220 volts, but this is dangerous due to mains voltage. Have this done exclusively by a technician. You can also plug the mains cord in the other way around in the outlet.
3. Ea problem with the heating or the heating element, especially due to an earth-leak fault. First test the heating element across the two outer pins. You should measure about 18 ohms. Then measure from each pin to the actual earth, for example the earth wire. You should not get any reading here.
Read more about this www.euromaxx.nu/products/whirlpool-verwarmingselement-l265xb65xh18/
4. Circuit board; Usually you can’t do much about this yourself. Send the circuit board in for repair or servicing.
Take photo or video recordings of all connections on the circuit board.
Disconnect all connections of the circuit board except for the power supply and the blue wire connection to the small circuit board with the display. Switch the device on. If error F23 remains visible, then the module is defective and you can send it in for servicing.